
Pectoralis Major Strain Overview
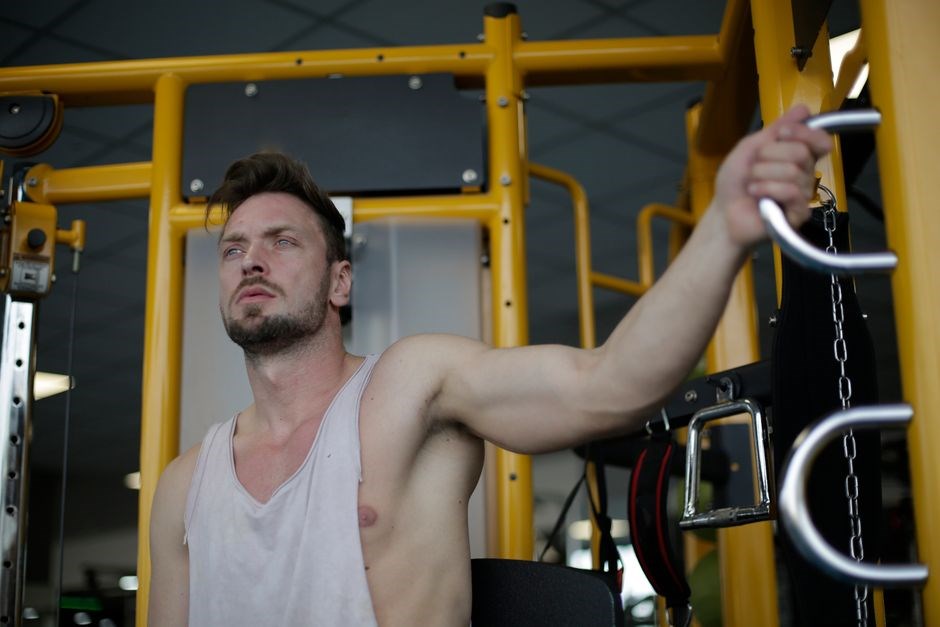
Post‑op protocol focuses on pain control, repair integrity, PROM, and arthrokinematics. Sling with pillow for 6 weeks, sleep included. Week 1–2: gentle isometrics, push‑up position, elbow dailynow extension.
Definition and Common Causes
A pectoralis major strain is an acute or chronic tearing of the muscle fibers that attach the chest wall to the humerus. The injury typically results from a sudden eccentric contraction during overhead or pushing movements, a forceful blow to the chest, or repetitive overuse in athletes such as weightlifters, baseball pitchers, and swimmers. Common mechanisms include a rapid forward swing of the arm while the muscle is lengthening, a direct impact to the sternum or clavicle, or a sudden pull when the arm is forcibly abducted and externally rotated. The severity ranges from a mild strain with minimal pain to a complete rupture that may require surgical repair. Diagnosis relies on patient history, physical exam, and imaging, but the primary focus in rehab is to identify the type of strain and tailor exercises accordingly. Rehabilitation focuses on gradual progression, restoring strength achieving functional recovery. Structured protocols emphasize controlled ROM, isometric holds, progressive resistance to achieve functional recovery
Clinical Presentation and Symptoms
Patients typically report a sudden sharp pain in the chest wall or upper arm during or after a forceful activity. The initial symptom is often accompanied by swelling, bruising, and a palpable gap or tenderness over the pectoralis major tendon insertion. Functional deficits include a noticeable weakness when pushing or lifting objects, a limited ability to adduct the arm, and a reduced range of motion in flexion and internal rotation. On examination, a positive “handshake” test may reveal a loss of strength, while palpation may elicit a deep ache at the sternoclavicular junction. Some individuals experience a “dead‑zone” sensation where the muscle feels detached, and others note a clicking or snapping sound during movement. The severity of symptoms correlates with the extent of fiber disruption, ranging from mild discomfort to a complete rupture that produces a dramatic loss of function and a visible deformity of the chest wall. During a physical examination, clinicians often employ the resisted push‑up test, noting a marked decrease in force when the patient attempts to push against resistance. A palpatory “gap” may be felt at the medial clavicle, and a positive “handshake” test indicates a loss of strength in the affected limb. Patients may also report a “dead‑zone” feeling, where the muscle feels detached, and some describe a clicking sound. The combination of pain, swelling, functional weakness, and specific exam findings guides the clinician toward the appropriate imaging and treatment plan.!
Imaging and Diagnostic Criteria
When a pectoralis major strain is suspected, the first imaging step is a focused musculoskeletal ultrasound, which can reveal fiber disruption, hematoma, or tendon retraction within 48–72 hours. If the ultrasound is inconclusive or a complete rupture is suspected, a high‑resolution MRI is indicated; it provides a graded assessment (I–III) based on the extent of tendon retraction, muscle atrophy, and the presence of a fluid collection. Grade I shows a partial tear with <3 cm retraction, Grade II involves a 3–5 cm gap, and Grade III indicates a complete rupture with >5 cm retraction. Radiographs are reserved for excluding osseous involvement, such as a clavicular fracture or humeral head displacement, and for assessing the integrity of any surgical hardware. Diagnostic criteria also include a positive “handshake” test, a palpable gap over the clavicular insertion, and a loss of strength >30 % compared to the contralateral side. These imaging findings guide treatment decisions, ensuring the rehab protocol matches injury severity!

Acute strains present within 48 h of injury, characterized by sharp pain, swelling, and immediate loss of function. Imaging shows minimal tendon retraction (<3 cm) and muscle edema. Rehabilitation focuses on pain control, gentle PROM, and early isometric strengthening. Chronic injuries, defined as >6 weeks post‑injury, often exhibit scar tissue, tendon retraction >5 cm, and muscle atrophy. Treatment shifts to progressive stretching, tendon gliding exercises, and gradual load‑bearing to restore excursion. The classification informs the timing of surgical referral: acute, high‑grade tears may be repaired within 4–6 weeks for optimal outcomes, whereas chronic tears may require tendon grafts or augmentation. In both cases, the rehab protocol must be individualized, with regular re‑assessment of strength, ROM, and functional milestones to ensure safe return to activity. The pdf guide provides detailed exercise progression tailored to each phase, ensuring clinicians and patients align expectations and goals throughout recovery. Use the PDF daily for consistent progress. Keep up.
Prognosis and Recovery Timeline
Recovery from a pectoralis major strain follows a staged timeline. Within the first 2 weeks, the focus is on pain control, protecting the repair, and initiating gentle passive range of motion; By weeks 3–4, patients begin isometric pectoral contractions and light resistance band external rotations, maintaining a sling with a pillow for 6 weeks to support healing. Weeks 5–8 introduce progressive strengthening, incorporating controlled push‑up positions with the back and neck neutral, as advised by Dr Fahim Khan. From week 9 to 12, functional drills and scapular stabilization are added, while pain and swelling should be minimal. By weeks 13–16, athletes can resume sport‑specific activities, provided strength and ROM match pre‑injury levels. A full return to play is typically achievable by 4 months post‑injury, assuming adherence to the protocol and absence of complications. Continuous reassessment ensures safe progression and optimal outcomes. Patients should track pain levels and range of motion using the logbook, and consult their clinician if any setbacks occur today.!

Rehabilitation Protocol Structure
Week 1–2: sling, pillow, pain control, protect repair, start PROM, arthrokinematics. Weeks 3–4: isometrics, push‑up position. Weeks 5–6: progress strength, maintain ROM. today!!!
Immediate Post-Injury Phase (0-2 Weeks)
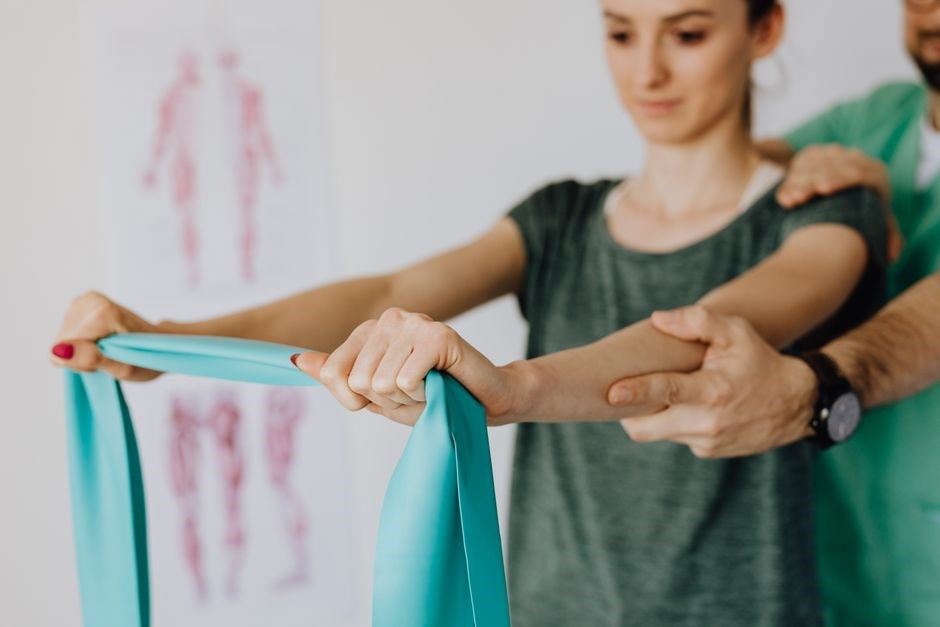
In the first two weeks, focus is on pain relief, protecting the repair, and gentle passive ROM. A sling with a pillow is worn for 6 weeks, including sleep, to limit shoulder movement. Ice packs 15–20 minutes every 2–3 hours and NSAIDs are taken as prescribed. Arthrokinematic work includes pain‑free flexion and abduction with a towel or light band. Isometric pectoral contractions are done in a push‑up position: keep back and neck neutral, straighten elbows fully, hold 5 seconds, then return. This activates the pectoralis major without loading the repair. Progress is guided by pain tolerance and ability to perform PROM without discomfort. Resisted or weighted activities are avoided until the end of this phase. A consistent sleep posture with the pillow keeps the shoulder slightly abducted. Regular follow‑up with the therapist ensures the protocol adapts to healing progress and patient feedback. The therapist monitors swelling and ROM, adjusting the protocol as needed. Patients are advised to avoid overhead activities and heavy lifting during this period. Maintaining a neutral spine during exercises helps prevent compensatory movements. Compliance with the regimen is crucial for optimal recovery. Patients should report any increase in pain or swelling promptly. A structured home exercise plan is provided to guide daily progress. Progress is documented in a logbook to track improvements. Early adherence to the plan accelerates functional recovery. Stay consistent and follow guidanceOK Keep up the effort. Stay strong. Keep moving. Stay safe. OK
Early Mobilization Techniques (Weeks 2-4)
Weeks 2‑4 focus on restoring painless ROM while protecting the repair. Light passive flexion and abduction are introduced, with the therapist guiding the arm through a full arc. Active‑assisted movements follow, using a towel or light band to help complete the motion without load. Isometric pectoral contractions are performed in a push‑up position: elbows straight, hold 5 seconds, repeat 10 times, 3 sets, twice daily. Resistance bands provide gentle external rotation; the band is anchored at shoulder height, the arm pulled outward at 90°, held 5 seconds. Scapular stabilization drills—wall slides, scapular retraction, thoracic extension—improve mechanics and reduce compensation. Ice and NSAIDs continue to control inflammation. Progress is logged, and the therapist adjusts intensity based on pain, swelling, and ROM. The sling is removed gradually; a pillow is kept during sleep to maintain slight abduction. Patients perform gentle shoulder circles (5–15 reps) and closed‑chain push‑ups on a stable surface to enhance neuromuscular control and maintain joint stability. Overhead activities and heavy lifting are avoided until week 12. Follow‑up appointments every 3–4 days assess healing and guide plan adjustments. The goal is 80% of pre‑injury ROM by week 4, preparing for strengthening.
Progressive Strengthening Phase (Weeks 4-12)
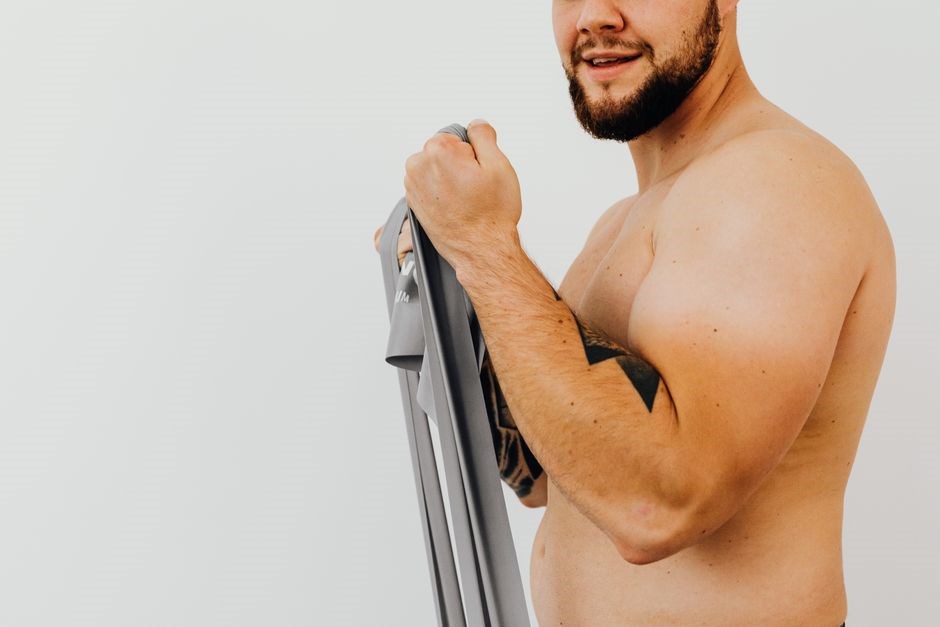
Weeks 4‑12 transition to active strengthening while preserving repair integrity. Begin with light dumbbell or resistance‑band chest press: 2–3 sets of 12 reps at 30–40 % 1RM, ensuring no pain or excessive tension. Isometric pectoral contractions progress to 15 seconds hold, 12 reps, 3 sets, twice daily. Resistance band external rotation increases band resistance, 3 sets of 15 reps, maintaining shoulder at 90° abduction. Scapular stabilization drills intensify: wall slides to 45°, scapular push‑ups, and thoracic extensions, 3 sets of 10. Closed‑chain push‑ups on knees, progressing to full push‑ups by week 10. Incorporate light dumbbell flyes, 2 sets of 10, with 5‑minute rest. All exercises performed with a 5‑minute warm‑up and 5‑minute cool‑down. Pain and swelling are monitored; if >2 days of discomfort, load is reduced. Progression criteria: pain <2/10, full ROM, and ability to perform 3 sets of 12 reps without guarding. Sling is discontinued by week 6; pillow use continues during sleep to maintain slight abduction; At week 12, patient should reach 90% of pre‑injury strength and.
Functional Activity Integration (Weeks 12-16)
By week 12, the patient should perform light functional tasks: pushing a door, carrying groceries, and light sports drills; Begin with controlled push‑ups on a stable surface, 3 sets of 8 reps, focusing on scapular retraction and controlled descent. Progress to closed‑chain exercises such as wall‑push‑ups and step‑ups, 3 sets of 10. Introduce sport‑specific drills: throwing a medicine ball at a target, 3 sets of 6, maintaining proper elbow angle. Gradual return to full push‑ups, 3 sets of 12, and resistance‑band chest press at 60 % 1RM. Incorporate dynamic stability: single‑leg balance with arm extension, 3 sets of 8. Monitor pain and swelling; any increase warrants regression. Encourage gradual increase in load and duration, aiming for 90 % of pre‑injury strength by week 16. Functional integration should be pain‑free, with full ROM and no guarding. The goal is to safely re‑introduce daily activities and sports while preserving the repaired muscle and joint mechanics. Progress is gauged by pain scores, ROM, strength ratios, and functional tasks, ensuring a safe return to sport.!!!

Key Rehabilitation Exercises
Start with gentle isometrics, progress to wall push‑ups, resistance‑band external rotations, and scapular stabilization drills. Follow protocol for pain control and ROM.!!!
Passive Range of Motion (PROM) for Chest Flexion
Immediately after surgery, a sling with pillow is worn for six weeks, with sleep included to protect the repair. The first two postoperative weeks focus on pain control, inflammation reduction, and maintaining the integrity of the surgical repair while gradually increasing passive range of motion. PROM is performed with the patient lying supine, the arm flexed to 90°, and the hand placed gently on the contralateral shoulder. The therapist or patient slowly lifts the arm forward, allowing the chest to flex without resistance, and then returns to the starting position. The movement is repeated 10–15 times, 2–3 times daily, ensuring the elbow remains slightly bent to avoid tension on the repair. The goal is to achieve at least 60° of passive flexion by the end of week two, progressing to full ROM by week four; Throughout, the back and neck remain neutral, and the patient avoids any forceful push‑ups or external rotations until the repair has matured. This controlled PROM protocol helps prevent stiffness, promotes tendon gliding, and supports early functional recovery. Therapists may use a towel or strap to assist in gentle elevation, ensuring the shoulder remains in a neutral position. The progression is guided by pain tolerance; if pain exceeds 3/10, the therapist reduces the angle or pauses the session. By week four, the patient can perform assisted shoulder flexion up to 120°, with the therapist providing light resistance. The PROM protocol is complemented by isometric contractions of the pectoralis major, performed in a supine position with the elbow flexed at 90°, holding for 5 seconds, and repeating 10 times. These isometrics reinforce tendon healing without loading the repair. Consistency in PROM sessions is critical; missing sessions can lead to adhesions and delayed return to activity. The ultimate aim is to restore functional chest flexion while preserving the surgical repair, setting the stage for subsequent strengthening exercises.
Isometric Pectoral Contractions
Begin isometric contractions in the first two postoperative weeks, following the sling protocol. The patient lies supine, arm flexed to 90°, elbow slightly bent, and hand placed on the contralateral shoulder. The therapist or patient gently pulls the hand toward the chest, engaging the pectoralis major without moving the joint. Hold the contraction for 5 seconds, relax for 5, and repeat 10 times. Perform 2–3 sets daily, ensuring pain does not exceed 3/10. Progression involves increasing hold time to 10 seconds and adding a light resistance band looped around the wrist, pulling inward. Maintain neutral spine and avoid scapular depression. The goal is to strengthen the tendon while preserving the repair, preparing for dynamic movements by week four. Consistency is key; missed sessions can delay functional recovery. During each session, the therapist monitors for any increase in pain or swelling, adjusting the hold duration accordingly. The patient shouldkeep the shoulder neutral avoid any upward shrug, and focus on slow, controlled movements to reinforce proper biomechanics.
Resistance Band External Rotation
After the initial isometric phase, introduce a light resistance band for external rotation. The patient sits upright, elbow flexed to 90°, forearm in neutral, and band anchored at wrist. Pull the band outward, keeping the elbow close to the side, until the forearm reaches 45° of external rotation. Hold for 3 seconds, then slowly return to start. Perform 3 sets of 10 reps, twice daily. Progress by increasing band tension or adding a second band loop. Ensure the scapula remains stable; avoid elevation or protraction. Monitor for pain; if discomfort exceeds 3/10, reduce hold time or tension. This exercise targets the supraspinatus and infraspinatus, supporting the repaired pectoralis major by improving shoulder external rotation strength and joint stability. Consistent execution over weeks 4–8 facilitates a gradual return to functional activities. During rehabilitation, patients should also perform gentle shoulder shrugs and internal rotation stretches to maintain shoulder health, ensuring the pectoralis major repair remains protected while promoting muscular development. These exercises aid a safe fast recovery!

Scapular Stabilization Drills
Scapular stabilization is critical after a pectoralis major repair. Begin with wall slides: patient stands with back against a wall, elbows bent 90°, forearms parallel to the floor. Slide arms upward while keeping the scapula depressed and retracted. Perform 3 sets of 10 repetitions, twice daily. Next, perform scapular push‑ups: in a plank position, push the chest toward the floor, allowing the scapula to depress and retract before returning to neutral. Do 3 sets of 8 reps. Add a band pull‑apart: hold a light resistance band with elbows at shoulder height, spread arms to create tension on the posterior shoulder. Hold for 3 seconds, release slowly. Repeat 3 sets of 12. Throughout, maintain a neutral spine and avoid excessive shoulder elevation. These drills strengthen the serratus anterior, rhomboids, and middle trapezius, providing a stable base for the repaired muscle and preventing compensatory patterns. Progress by increasing hold time or band resistance, ensuring pain remains below 3/10. Consistency over 4–6 weeks supports functional recovery and reduces risk.

PDF Resources and Exercise Guides
Download illustrated protocols, progress sheets, and return‑to‑play criteria. PDFs available via secure app, email, or cloud. Follow step‑by‑step visuals for safe home rehab. Print or view online for reference.
Illustrated Exercise Protocols for Home Use
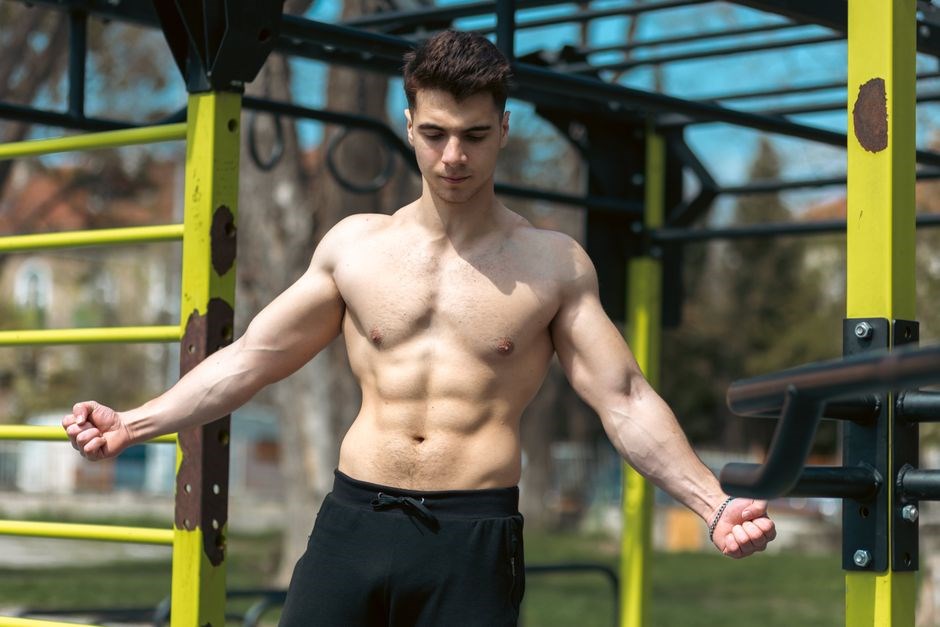
Download the comprehensive PDF guide that showcases step‑by‑step illustrations for each prescribed movement. The protocol begins with gentle isometric contractions performed in a push‑up position, keeping the back and neck neutral while slowly extending the elbows to activate the repaired pectoralis major. Progression is outlined in weekly increments: weeks 1‑2 emphasize pain control and limited ROM; weeks 3‑4 introduce light resistance band external rotations; weeks 5‑6 focus on scapular stabilization drills; and weeks 7‑8 transition to functional activities. Each page includes safety cues, proper posture, and common mistakes to avoid. The PDF also contains a printable progress tracking sheet to log daily repetitions, pain scores, and range of motion measurements, ensuring objective monitoring of recovery. All exercises are designed to preserve surgical repair integrity while gradually restoring strength and mobility. The guide is available for download via the clinic’s secure portal or emailed directly to patients for convenient home use.
Progress Tracking Sheets and Logbooks
Our downloadable PDF logbook provides a structured format for patients to record daily metrics throughout the rehabilitation timeline. Each worksheet includes columns for date, pain rating (0‑10), range of motion in degrees, number of repetitions for isometric and resistance exercises, and notes on fatigue or discomfort. The logbook also features a weekly summary section where patients can calculate average pain scores, track ROM improvements, and note any setbacks or milestones. Visual graphs generated from the data help patients and clinicians quickly assess progress and adjust the exercise prescription accordingly. The logbook is designed to be printed or filled electronically, with a QR code linking to an online version that syncs with the clinic’s patient portal for real‑time monitoring. By consistently documenting each session, patients gain insight into their recovery trajectory, while providers receive objective evidence to tailor therapy and determine readiness for return‑to‑activity milestones. Thank you.!!!!
Return-to-Play Criteria and Assessment
Patients must demonstrate full, pain‑free range of motion, 100% isometric strength compared to the contralateral side, and no residual swelling. Functional tests include a 10‑rep push‑up, a 30‑second plank, and a 5‑minute treadmill walk at 3 mph with no discomfort. A graded return protocol is used: Stage 1 (0‑2 weeks) limited activity, Stage 2 (2‑4 weeks) sport‑specific drills, Stage 3 (4‑6 weeks) full contact practice, and Stage 4 (6‑8 weeks) competitive play. Clearance requires a physician’s clearance, a physical therapist’s assessment, and a documented score of ≥90% on the functional test battery. The assessment also considers psychological readiness, confidence, and adherence to the rehab plan. A final clearance form is signed by the athlete, coach, and medical staff before re‑entry into competition. Athletes should perform a 30‑second vertical jump and a 5‑minute sprint with no pain. A score of ≥90% compared to the uninjured side on all tests is required. Documentation of adherence to the rehab protocol is mandatory before clearance. All loggednow
Digital PDF Delivery Platforms and Apps
Integration with wearable devices such as Apple Watch,Garmin, and Fitbit allows monitoring of heart rate, movement patterns, and adherence to exercise loads. Data can be synced to a secure cloud platform where therapists review trends, adjust load progression, and send automated reminders. Patient education modules embedded in the PDF guide explain proper form, breathing cues, and the importance of gradual progression to avoid re‑injury. Interactive checklists enable patients to log daily exercises, pain levels, and perceived exertion, which are automatically uploaded to the clinician’s dashboard. Gamified elements, such as milestone badges and streak counters, increase engagement and motivation; Secure messaging and real‑time monitoring modify and! protocols without in‑person visits.!! Compliance tracking reports provide insights into adherence patterns, helping identify barriers and tailor interventions. By leveraging these technologies, the rehabilitation process becomes data‑driven, personalized, and patient‑centered, ultimately improving outcomes and reducing time to return to play.